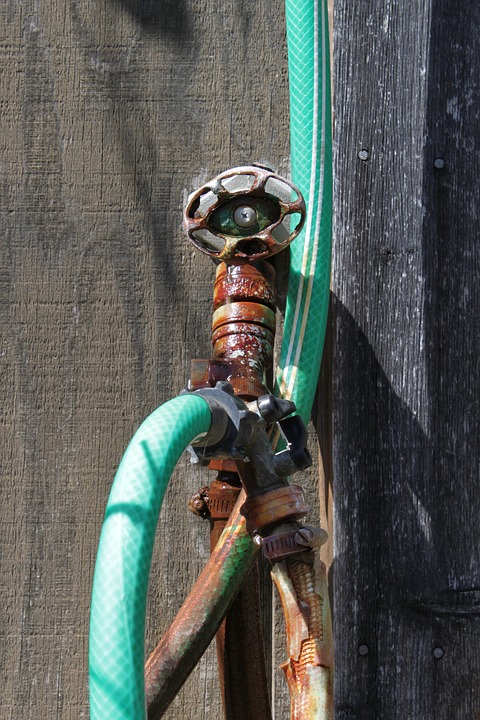
How to Fix a Leaky Faucet
Whether it is the pooling of water around the faucet handles or the constant drip of water at the faucet handles, the reason is a leaky faucet. Here are a few steps you can follow when fixing it.
1. Assemble your tools
You will need these tools:
l Needle nose pliers
l Pliers, adjustable wrench, or Allen wrenches
l Utility knife
l Calcium remover
l Screwdriver
l Faucet replacement parts
2. Shut off the water
Go below the sink and turn off the water valves. Next, turn the faucet handles. Once the flow stops, you will have turned the water off properly and you can now start the inspection.
3. Check the cartridges and handles
Most of the faucet leaks are linked to the handle. Remove the cap from the handle or unscrew them if they are fixed on the handle. There are many parts within the handle such as washers, seals, stem and the o-ring. Look out for cracks and general tear and wear in these parts. Each of the parts can be replaced easily without having to buy new handles. If you want to replace the cartridge, remove the old one using a pair of pliers. Push in the new cartridge and fasten it into place.
Pro tip: remember to carry the old part to the store when buying a new one.
4. Clean using calcium remover
Before you re-assemble the faucet fully, clean the scaly parts using calcium remover or any other plumbing-safe cleaner. When you do this, you will prevent more damage to the faucet parts. Make sure you wear gloves when using any kind of chemical cleaner.
5. Reattach faucet parts
Ensure that all pieces from the handle are assembled correctly and tightly. Next, turn the water on and see if there is any leak. Make sure that you test both cold and hot water separately. If you experience any dripping or leaking, you should consider hiring a plumbing professional as the issue is now out of hands.


